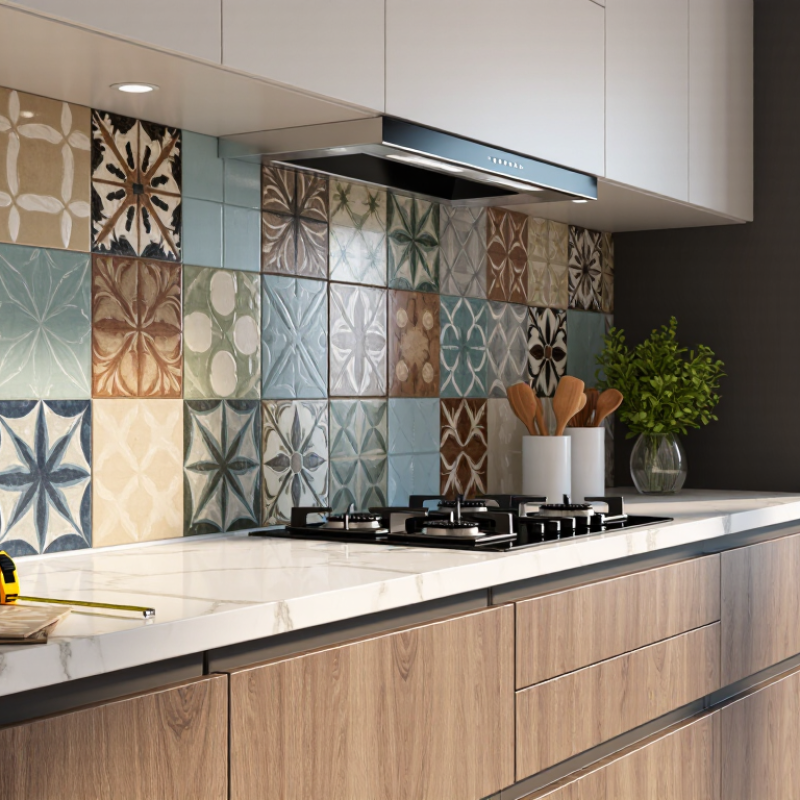
| 1 | Measure the available surface | Calculate the surface area in square feet or square meters. Add approximately 10% extra for cutting, breakage, and future repairs. | Kitchen backsplashes, bathroom accent walls, fireplace surrounds, entry niches, and small feature panels. | Measure the height and width in several places, then subtract openings such as windows, outlets, and cabinets before ordering. |
| 2 | Match the tile scale to the room | Common decorative formats range from 4 × 4 in to 12 × 12 in. Smaller rooms usually benefit from patterns that do not overwhelm the available wall area. | Use smaller formats for narrow borders and compact walls; use larger formats for broad focal areas with fewer interruptions. | Tape a paper template of the proposed tile size to the wall. View it from the room entrance and from normal standing distance. |
| 3 | Choose a pattern that suits the architectural style | Geometric patterns create structure, botanical motifs add softness, and restrained linework supports minimalist interiors. | Coordinate the tile motif with cabinet profiles, hardware shapes, flooring patterns, and existing architectural details. | Limit the space to one dominant decorative pattern. Keep surrounding surfaces quieter when the tile has strong movement or contrast. |
| 4 | Evaluate color in the actual lighting | Natural daylight, warm bulbs, and cool bulbs can noticeably change perceived color. Light-reflective surfaces generally make a space feel brighter. | Review samples in kitchens, bathrooms, hallways, and other areas where lighting conditions differ throughout the day. | Place a physical sample beside the countertop, paint, flooring, and cabinetry. Observe it in morning, afternoon, and evening light. |
| 5 | Coordinate the grout color | A matching grout color visually blends joints, while a contrasting grout emphasizes the pattern and installation lines. | Use low-contrast grout for intricate artwork and stronger contrast when the tile layout itself is intended to be a design feature. | Compare the tile with at least two grout samples. Remember that grout can appear lighter or darker after installation and curing. |
| 6 | Confirm the installation environment | Select materials according to exposure to water, heat, stains, abrasion, and cleaning products. Wall tiles are not automatically suitable for floors. | Use products rated for the intended location, especially around showers, cooktops, floors, outdoor areas, and fireplace surrounds. | Review the product's technical sheet for water absorption, slip resistance, temperature limits, and approved installation locations. |
| 7 | Plan the layout before purchasing | A balanced layout avoids very narrow cuts. Centering the design or aligning it with a focal point often produces a more intentional result. | Particularly important for framed murals, repeated motifs, borders, medallions, and backsplash areas with multiple outlets. | Draw a scaled elevation showing tile lines, corners, outlets, appliances, trim, and the proposed starting point. |
| 8 | Check thickness and transitions | Decorative tiles may differ in thickness from surrounding field tile. Even small height differences can affect trim, edges, and cleaning. | Use compatible edge profiles or planned transitions where decorative tiles meet painted walls, stone, countertop surfaces, or standard tile. | Compare tile thicknesses and confirm that corners, exposed edges, outlets, and adjoining surfaces can be finished neatly. |
| 9 | Consider maintenance and texture | Deep relief, uneven surfaces, and highly textured finishes collect more dust and grease than smooth, flatter surfaces. | Smooth or moderately textured tiles are practical behind cooking areas and sinks; highly sculptural tiles are better suited to low-contact feature walls. | Ask how the surface should be cleaned and whether it requires sealing. Avoid abrasive cleaners unless the manufacturer specifically permits them. |
| 10 | Order samples from the same production batch | Color, shade, texture, and dimensions can vary between production batches. Buying extra material from one batch helps maintain visual consistency. | Essential for large installations, continuous patterns, murals, and projects where several cartons will be installed together. | Inspect multiple pieces before installation and keep several spare tiles labeled with the room and installation date for future repairs. |


 Your message must be between 20-3,000 characters!